
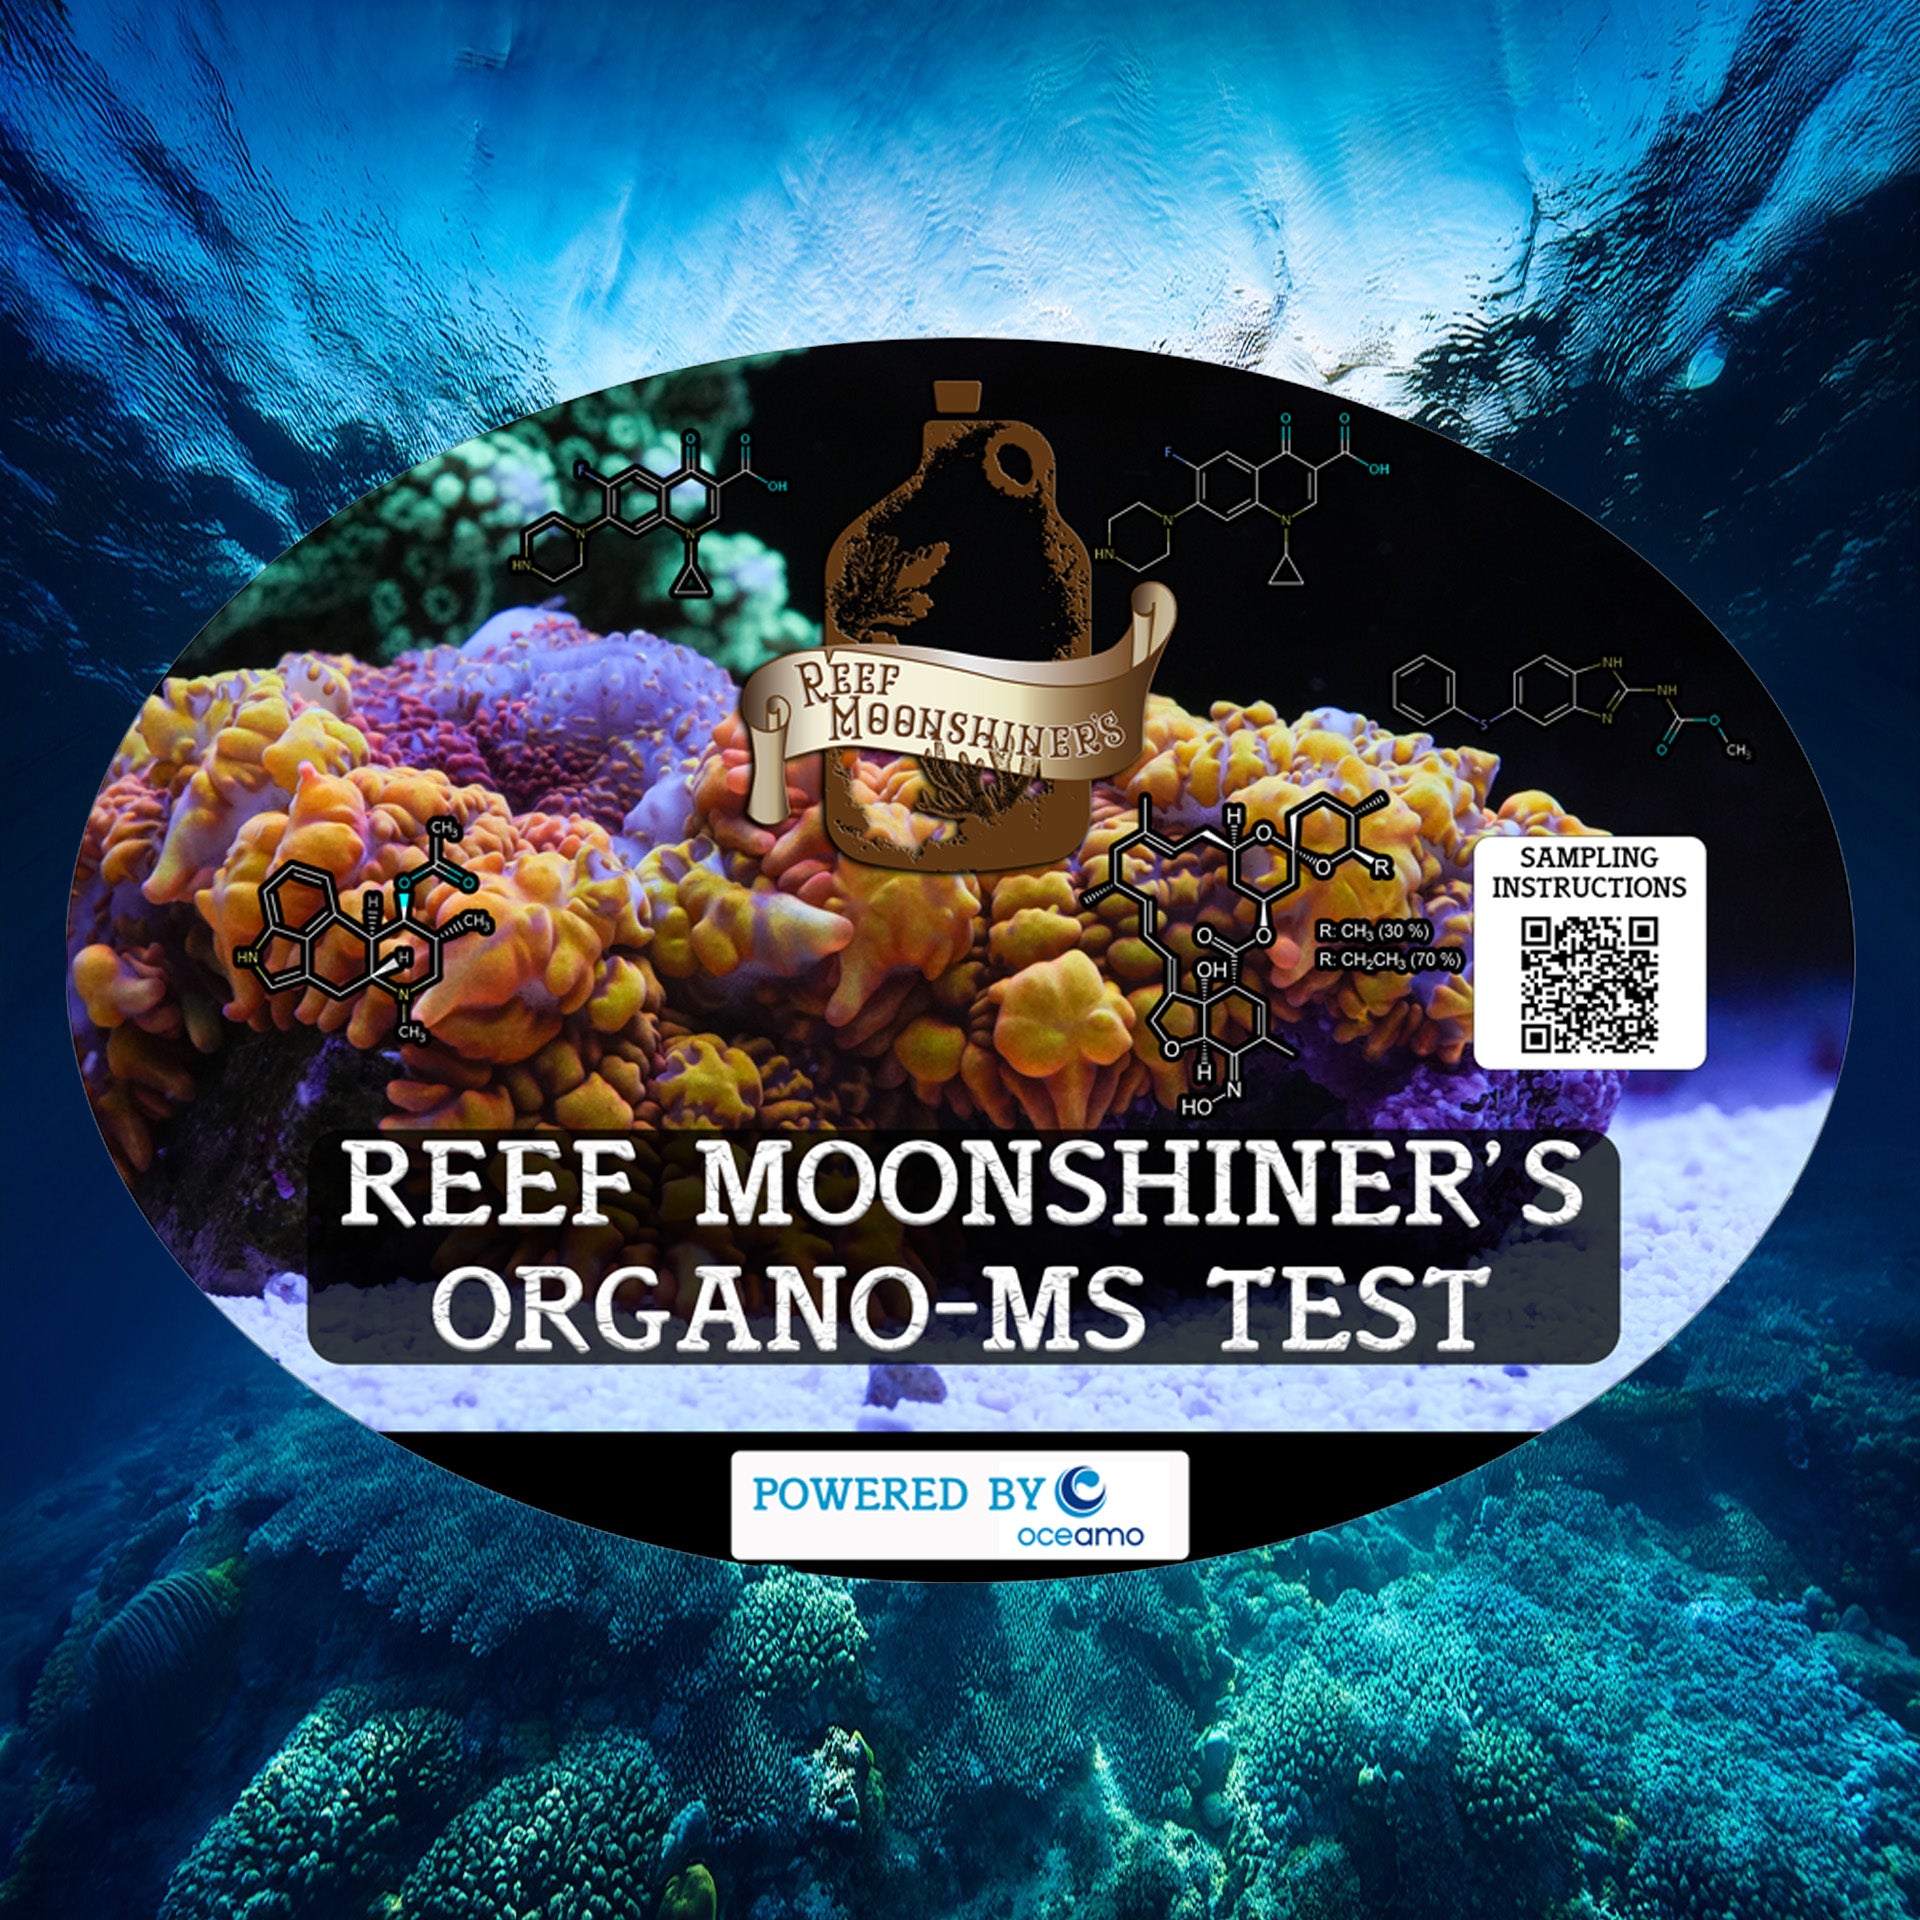
ORGANO-MS Test Kit Sampling Instructions
READ THE ENTIRE INSTRUCTION FIRST PRIOR STARTING.
1 - Prepare for the Testing

Please read through the entire Instructions first, and then continue with step #2.
Prepare everything for sampling first.
2 - Take a Picture of the Bottle Sticker & Shipping Label

It is extremely important to take a picture of the Sticker attached to the Bottle and the Shipping label for future tracking between you and the Laboratory arrival in Austria.
The Sticker code on the Bottle is required in order to register the Sample in the system, and for future evidence that no typo was done during registration.
3 - Rinsing the Syringe a few times

Unpack and rinse the Syringe 3-4 times with Tankwater WITHOUT the Filter.
Then fill the Syringe with Aquarium/Sampling Water.
4 - Attach the Filter to the Syringe

Attach the included Filter to the Syringe.
- Do not try to fill/pull water with the Syringe with the Filter already on the tip.
Discard the Filter after sampling, and do not reuse these for other Water testing or sampling.
5 - Discard until you have 13ml Water left

Discard so much water until you have only 13ml water left in the Syringe.
This step does automatically rinse the filter for subsequent sampling.
6 - Fill 13ml filtered water into Sample Vial and add Stabilizer fluid

Now open the Lid of the Sample Bottle/Vial, and fill with the 13ml of remaining filtered sample water.
Then simply open the little blue capped stabilizer vial and pour the stabilizer into the Sample Bottle/Vial as well.
Close the Sample/Vial.
If you have less than 13ml left in the vial, remove filter and go back to Step 3 and refill water back to 13ml.
Keep the Syringes after sampling, they make a useful tool on the daily Chores on the Aquarium. To disinfect these Syringes, place them empty and apart in a clean Microwave at high (900W-1200W) for 1 minute individually.
7 - Pack Sampling Bottle into the Polybag

When the Sampling Bottle is filled with water, close the lid securely, place it into the enclosed smaller rectangular Polybag and close the Ziploc.
Leave the air in the bag, this will provide additional cushioning during transportation.
8 - Attach the Return label

Attach the label to the Shipping envelope, then add the Polybag with the Sample Bottle and close it.
Important is too keep the Return label tracking picture on hand to be able to track the Sample transit in case of problems or delays or even a claim.
9 - Store the Sample in a cool place

Store the Organo-MS sample until Shipping in a cool place. Refrigerator ideally, or chilled dark room.
10 - Register your Organo-MS Test online - LOGIN

Register your sample now on the Oceamo Lab website HERE.
Sign in your account, or register for a new account.
This step can now be done on your phone or home computer whichever preferred
11 - Register your Organo-MS Test online - SUBMIT A SAMPLE

In the Home menu, click "Submit a Sample".
In the next step you do need the picture or Sticker number from the Test vials you just packed into the Envelope, pull up the picture you took, or note where the Label is written down.
12 - Register your ORGANO-MS Test online - ENTER NUMBER

In the next window, you will enter the complete letters & numbers as found on the Sticker that is attached to your Test kit bottle.
That is 3 Letters followed by 6 numbers, make sure you enter the numbers correctly into the system for submittal.
You will receive a Registration confirmation email after a successful registration within seconds of submittal, make sure you get this email!
13 - Register your Organo-MS Test online - SUBMITTAL FORM

In the final step you will fill out a short form with some random data about your tank and system.
The Customer # will be assigned and provided with the first results, this form is conveniently prefilled next time you submit a sample.
After you click the Submittal button a SUCCESS window will pop up and you will receive a Registration confirmation email after a successful registration within seconds of submittal, make sure you get this email!
14 - Drop off your Envelope
All done. If you are lucky enough to have your own Mailbox, place the test in there, drop off at any USPS mail supporting location otherwise!
This label is pre-paid, no visit at the counter or getting in line.
